How To - Railroad Maintenance of Way Roto Dump Truck Construction by Jesse Weigand
Final Assembly & Finishing
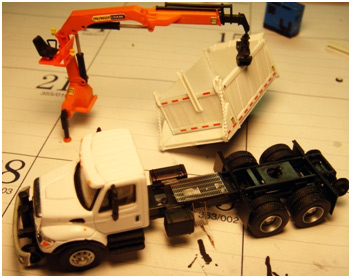
Shown at left are three of the four main pieces ready for another test fit. The chassis is nearing completion. The crane is ready to be permanently CA glued to the chassis. The Roto Dump box is also finished. The only major part left to build is the ladder and catwalk to access the crane seat and operator controls. Before gluing anything, a test fit is in order.
Looks good! Ready to glue the crane on. In order to prevent any accidents with the dump box, it will be removed during the next few processes.
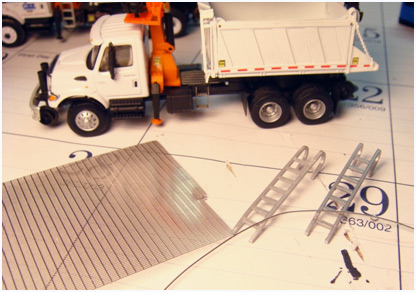
This picture shows the main materials needed to complete the catwalk. These include but are not limited to, Plano Model Products .008" Apex pattern stainless steel sheet, plastic ladders, and 26 gauge floral wire.
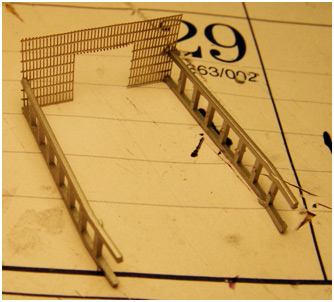
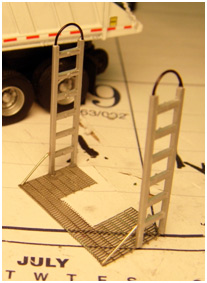
Within these two pictures you can see the progression of the catwalk construction. Gluing styrene to stainless steel is comparable to herding cats. The adhesion will tend to pull the materials where they would like to be glued and not necessarily where you’d like them glued. With a lot of persistence and constant checking with a right angle it can be done. The floral wire is used for support arms and flexible step loops at the end of the ladder. Once thoroughly dried, a test fit can be performed.
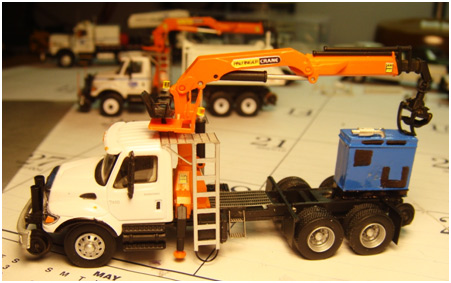
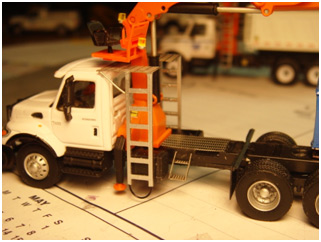
Let me explain the photo at right; the blue Miller welder on the rear of the truck frame is merely holding the unglued crane in place for a final test fit of the catwalk. It is important that the outriggers remain functional throughout assembly. Keeping all the parts square requires spot on measurements and multiple test fits. This photo is the seventh of nine total test fits and modifications.
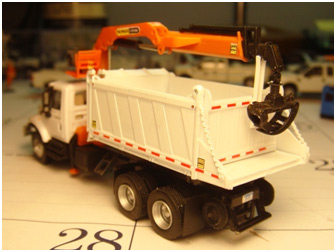
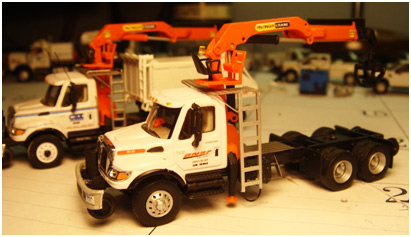
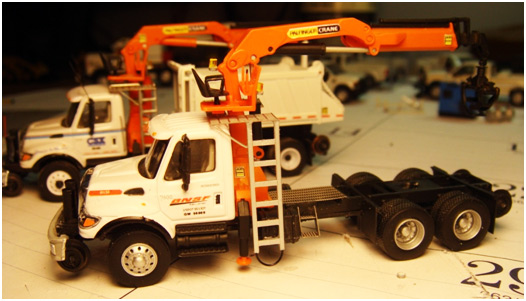
Here is the final version of the catwalk and crane now permanently CA glued to the chassis. Your choice of decals could be added at this point. For this unit “the mold was broken” of my typical CSX decaling. This unit will be decaled for BNSF per request of a close friend.
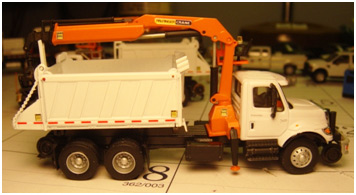
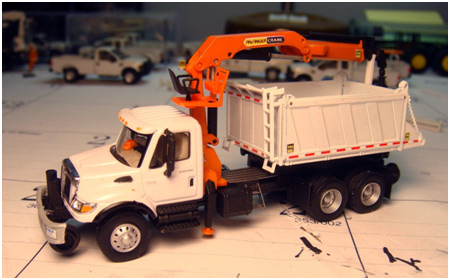
This shot looks as if the truck has just been pulled out of the outfitters shop. All that needs to be done is to add the Roto Dump box back on.
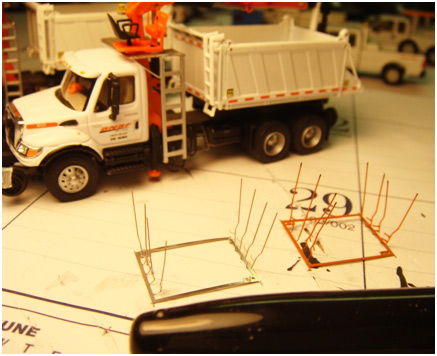
Final details include the bumper posts shown here unpainted (foreground left) and painted (foreground right). I use a Sharpie permanent marker to add the black tips once the orange paint has dried. The posts are designed to be drilled and CA glued. The paint brush bristles are glued atop the mirrors as antennas. They are "bull mounted" (angled forward) so as to stay outside the crane’s swing radius. The rest is up to your imagination!
Quick Link To Page # - 1 2 3 4 5 We hope you enjoyed Jesse's construction article. We hope it's just the first of many! |

